Note: not all must be done before she's in the water.
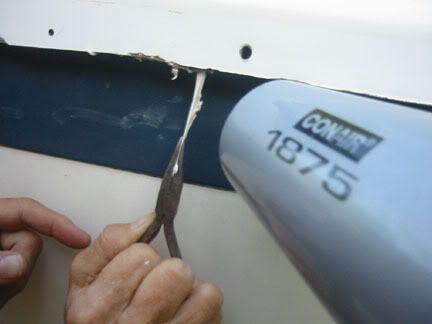
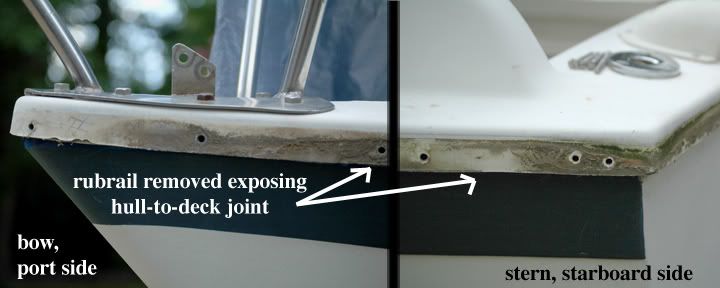
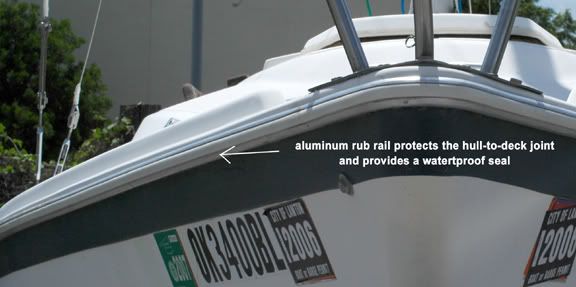
HULL-TO-DECK JOINT
remove rubber piece
remove rubrail and fasteners
remove old sealant
clean with acetone
reinstall rail with new SS fasteners (and washers)
seal with 3M 5200
reattach rubber piece
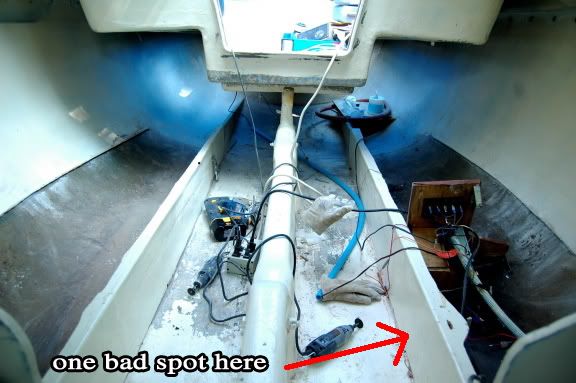
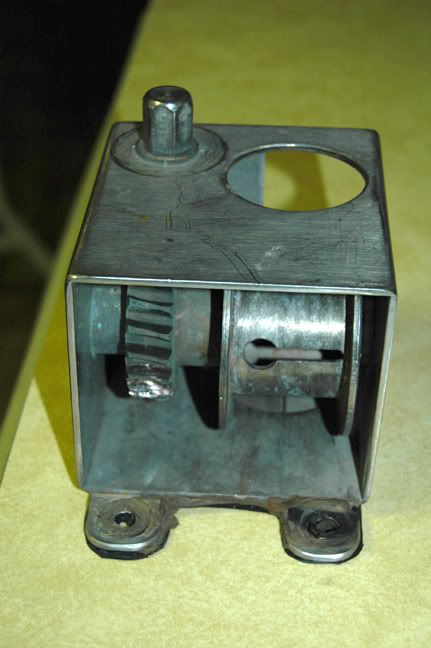
KEEL WINCH SUPPORT
grind and remove old fiberglass
sand with proper grit for epoxy to bond to
clean with acetone
measure and cut wood for winch support
paint with epoxy and let cure
prep surface with acetone
glass in the wood support and let cure
attach hose from top of cockpit floor into volcano
glass volcano to bottom of winch support and let cure
sand and paint
attach winch to cockpit floor using larger bolts and backing plate or oversized washers
and seal with 3M4200 and let cure
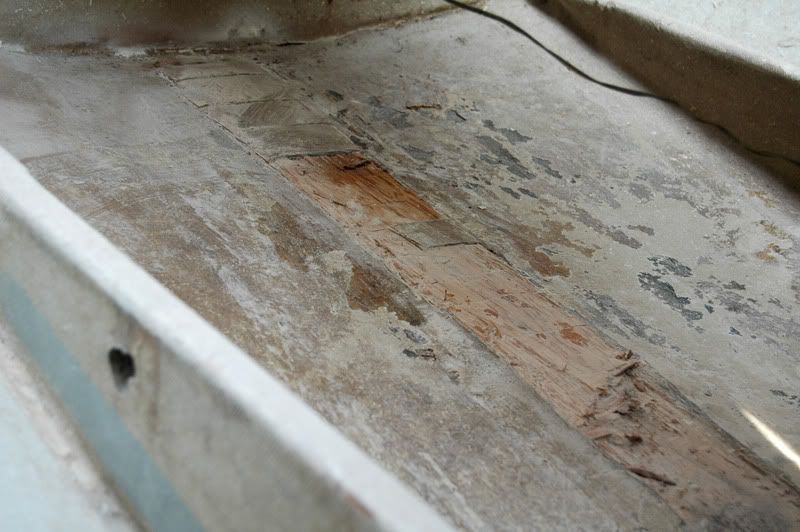
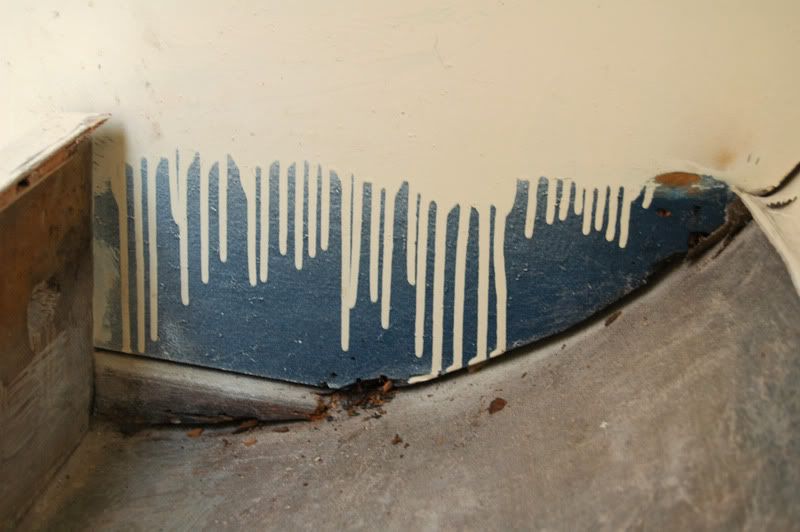
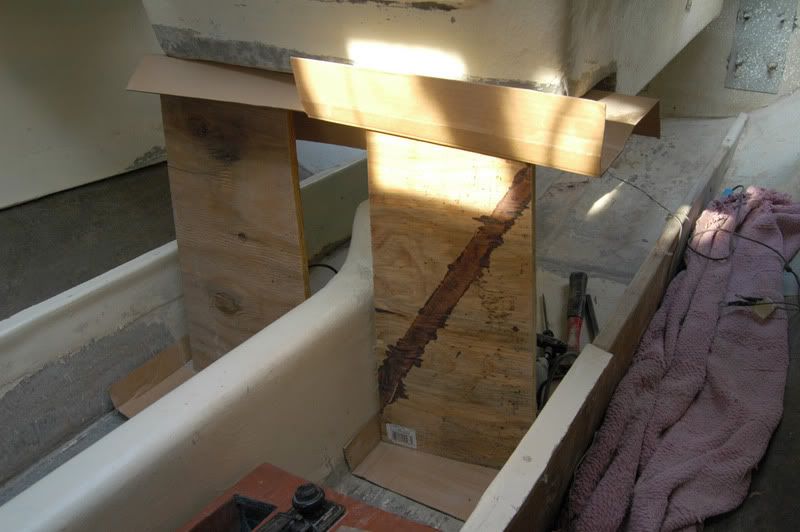
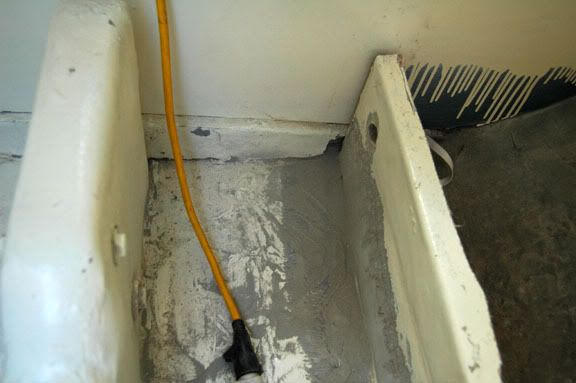
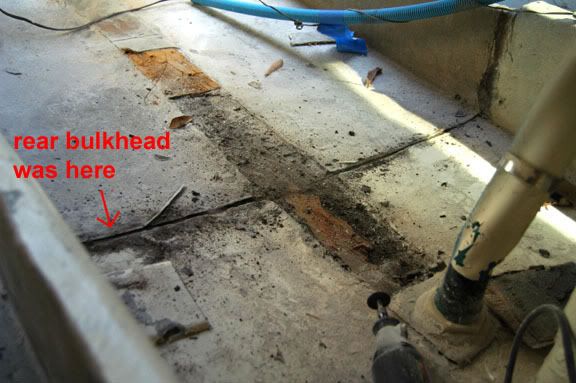
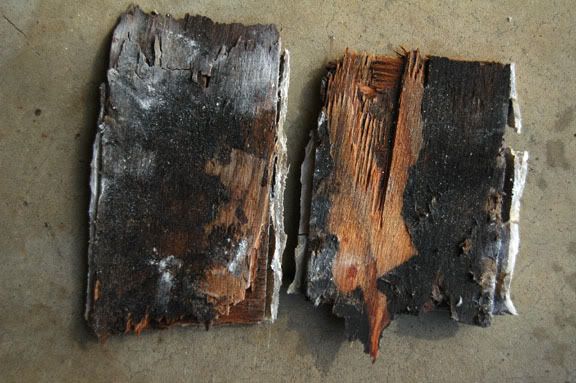
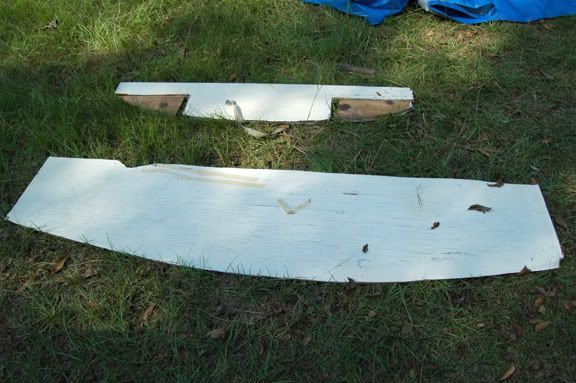
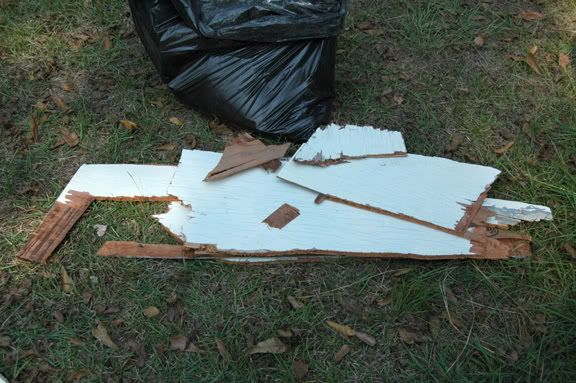
BULKHEAD REPLACEMENT
remove old paint
sand with proper grit for epoxy to bond to
clean with acetone
measure and make template
cut bulkhead from template
cut holes in bulkhead for electrical panel and cd player
clean bulkhead and surface with acetone
glass in bulkhead and let cure
sand and paint
RUB RAIL
reinstall old rubber rail piece if possible, or purchase new
FOAM FLOATATION
buy new large pieces for stern bilge area
cut up old pieces for installation in new quarter berths
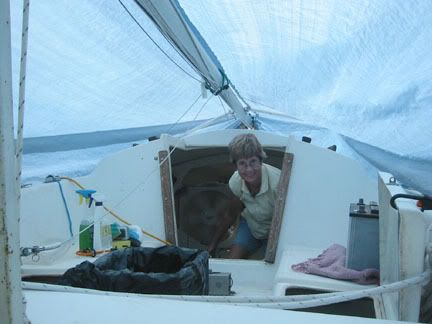
QUARTER BERTHS REPLACEMENT
remove old berths
inspect bulkheads
grind and remove old fiberglass
sand with proper grit for epoxy to bond to
clean with acetone
measure and make templates for both berths and berth supports
cut wood from templates
prep surface with acetone
glass in the wood berth supports
let cure
add foam pieces
sand supports and clean with acetone
glass in top of berths and let cure
sand and clean with acetone
paint berths
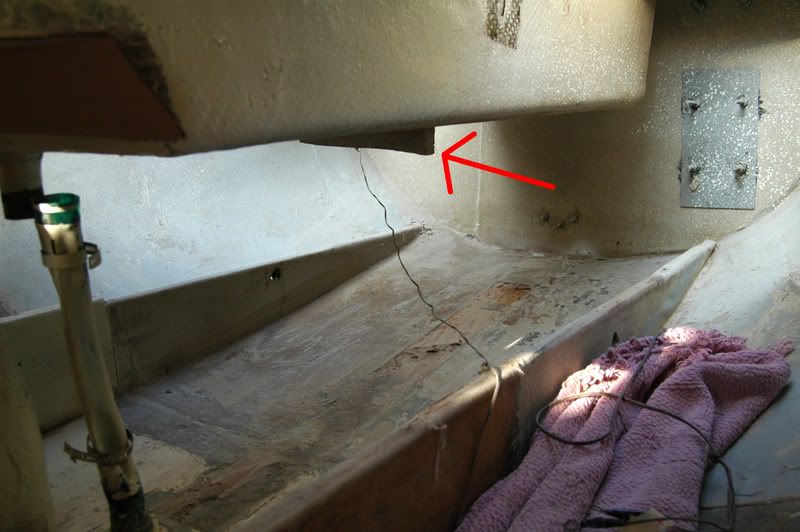
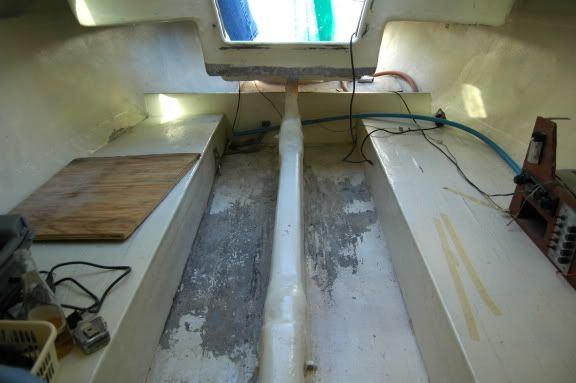
ADDITIONAL SUPPORT TO KEEL TRUNK
Sand floor and sides of keel trunk
clean with acetone
glass in tape for support
let cure
sand, clean and paint
CHAINPLATES
remove chainplate
clean and polish
purchase additional screws and backing plate
re-install chainplates using backing plate
seal with 3M 4200
DECK HARDWARE
remove all deck hardware
inspect and clean with acetone
replace rusted hardware
grind out holes
sand with proper grit for epoxy to bond to
clean with acetone
apply epoxy with filler to holes
let cure
drill new holes in epoxy
install hardware using 3M 4200
do not tighten until 4200 is almost cured
INTERIOR PAINT
remove old paint
sand and clean with acetone
1-2 coats of Kilz
2 coats of high-gloss paint
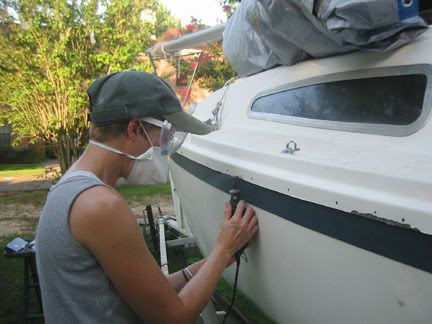
EXTERIOR PAINT
wet sand hull
paint if necessary, if not wax and buff
sand deck and repaint if necessary
PIECE that HAULS and HOLDS BOAT ONTO TRAILER
remove
clean
re-install using 3M 4200
do not tighten until 4200 almost cured
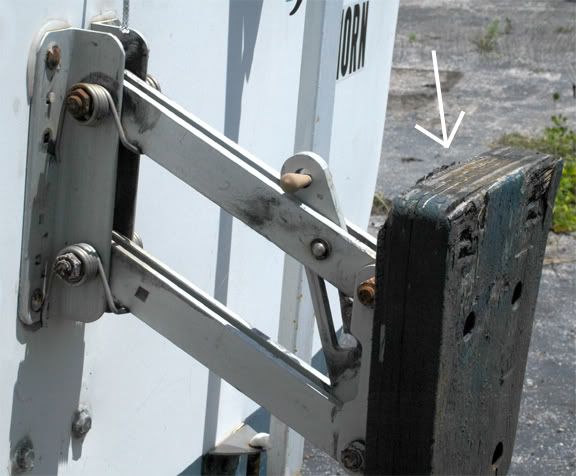
MOTOR MOUNT
install motor mount
replace rusted screws
remove backing plate and filling holes with epoxy
drill new holes
install motor mount using 3M 4200 or 5200
V-BERTH REPLACEMENT
remove old berths
inspect bulkheads
grind and remove old fiberglass
sand with proper grit for epoxy to bond to
clean with acetone
measure and make templates for both sides of v-berth
cut wood from templates
prep surface with acetone
glass in berth pieces
let cure
glass in berth tops
let cure
sand and clean with acetone
paint
SAILS
clean sails
remove old adhesive
put logo on mainsail
TUNING
mast and rigging
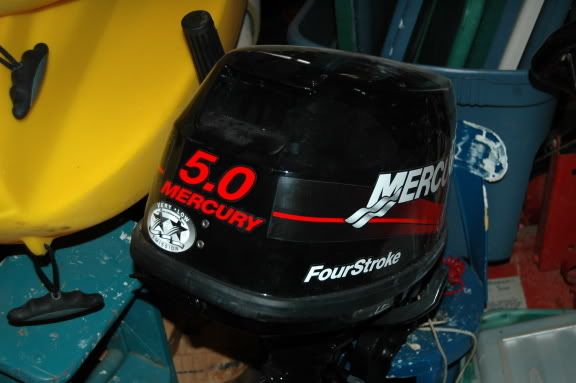
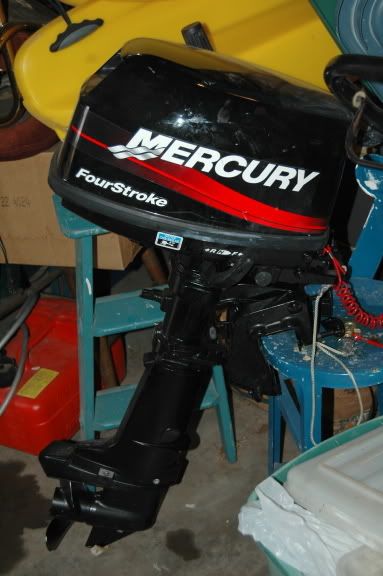
MOTOR
have motor serviced
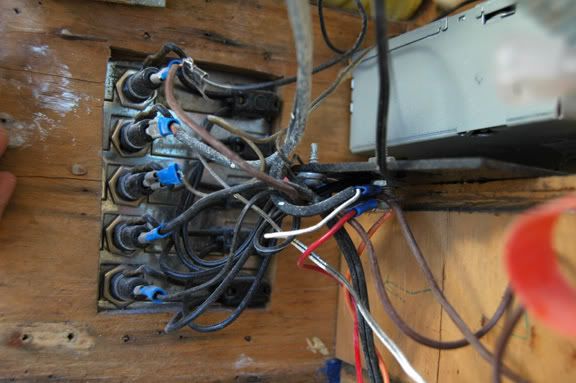
ELECTRICAL
secure wiring
new battery and battery box
TRAILER
bearing buddies
sand and paint trailer
have inspected
LICENSE/INSURANCE
license for boat and trailer
insurance (liability only)
DE & RE-NAMING
Paint on Name and Logo, Cover
Perform De Naming ceremony
Uncover New Name
Perform Naming ceremony
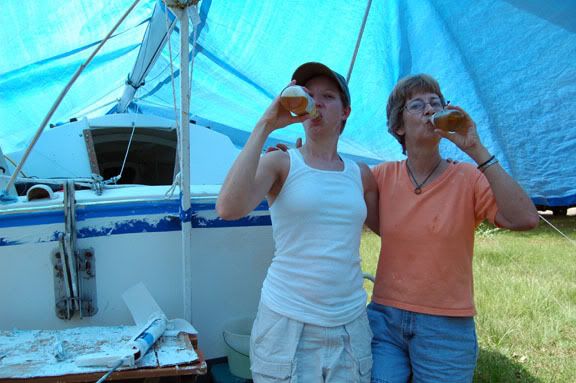
Apply liberal amounts of alcohol of your choice to sv and sailors alike.
EQUIPMENT NEEDED
Swim ladder $29.00 at Bass Pro
Throwable PFDs I think one is required but really need 2 for sitting in cockpit.
Air Horn is this required by the CG?