In between bouts of hot weather, hurricanes and back aches we've slowly progressed on the boat work. The next big projects all involve structural fiberglassing, and neither of us has any real experience with fiberglass, so we've been taking our time coating the keelson and bridge step support, and I spent several hours laying cloth down to strengthen the berth supports and to learn this new medium. What have I learned? It's messy. Very messy. And you have to be ready once you mix it, cause the whole process goes down so fast. And be prepared for the messiness...have lots of paper towels and vinyl gloves.
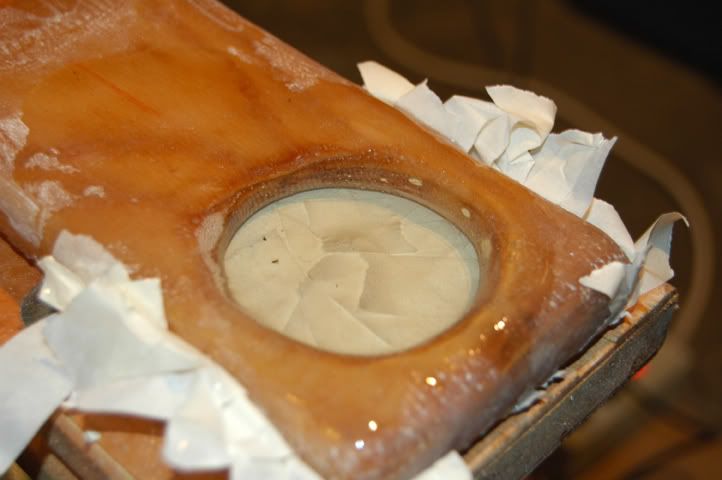
The hardest part so far was figuring out how to wrap the cloth around corners. After much trial and error (and messiness) I decided it's easiest to just to lay it out in flat pieces and just cut the extra off when it dries, cause this stuff doesn't like corners. Also took me a bit to figure out how to get epoxy in the hole in the keelson (the hole that the cockpit drain runs through). The entire keelson needs to be coated in fiberglass and epoxy to keep any water out. So we initially had to cut the hole a little larger, to make room for the needed protective epoxy coating. I thought maybe I could wet out some small fiberglass strips and just line them along the inside edges of the hole to build it up, but that didn't work. There were several variations along this line of thought that I tried, but nothing would work on the inside without causing bubbles. Then it occurred to me that I could just fill the entire hole with epoxy and then cut out the correct diameter hole for the cockpit drain after the epoxy is cured. I mean, I have a gallon and a half of the stuff. Why not waste a little to make a job easier.
In a not-so-bright moment I thought masking tape on the bottom would help hold the liquid epoxy in. Duh. When it started oozing out rather quickly, I crammed a plastic cup up in there to help hold it. A LOT leaked out but not all, so I let what remained cure enough to get a little hard and then mixed up another batch and poured it on top, because even with all the mistakes and do-overs, I have enough epoxy to last me years. :)
The tape wasn't the best idea.
So the as the time nears to actually start glassing in these new pieces we've made, it became apparent that it would be very difficult to level the boat (you don't want to build a boat on unlevel ground the same way you wouldn't want to build a house on an uneven foundation) on the ground next to the garage, which is where Wahoo has lived since I bought her in July of '07. It's a slight uphill, and though it would be possible, it was not advised.
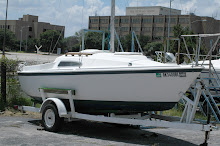
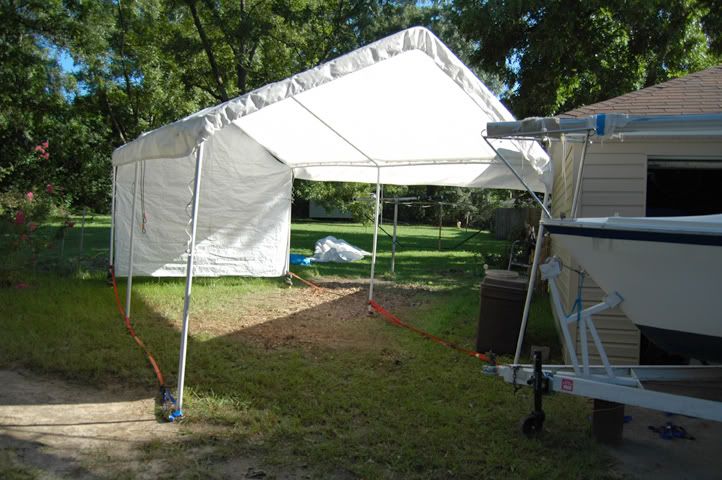
So we decided to move the boat to the driveway! :D Right in front of the garage! :D :D
It's not too hard to move the boat. Just hook it to the trailer hitch and with a little careful yard navigating, off you go. The shelter was another story. It's 12' x 20' and has 6 legs. You are supposed to be able to remove the legs, which would have allowed us to each pick up one end of the roof and move it, then move the legs separately and reattach at the new location. But, it's been a wet year (or summer at least-ask anyone here the last time their lawn was green in August/September!) and the legs rusted a tad making them impossible for two tiny girls to remove.
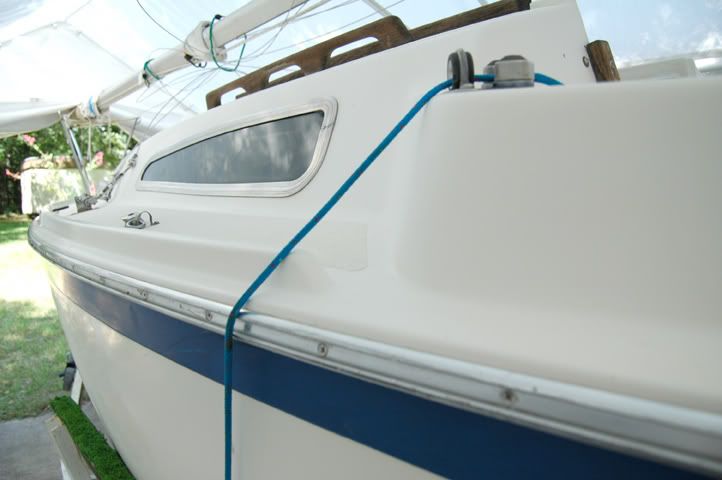
Here's Wahoo in her new spot.

So, on to plan B. Mom mentions roller skates - we could roll it there. My first thought is to laugh. Then I remember those inline skates I bought a few years ago.
A perfect fit.
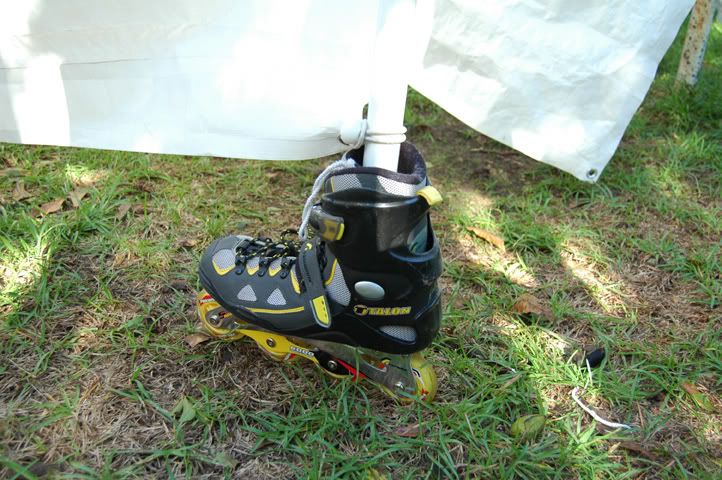
So we put a skate on each of the legs on one end and I found some little casters from a plant stand that fit on the middle legs.
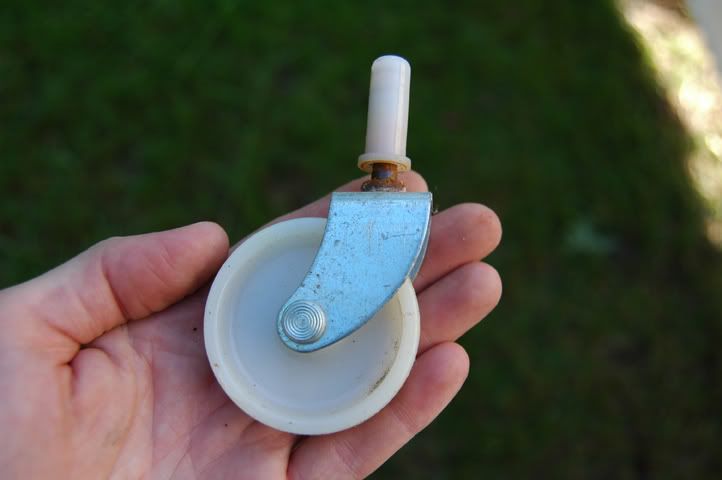
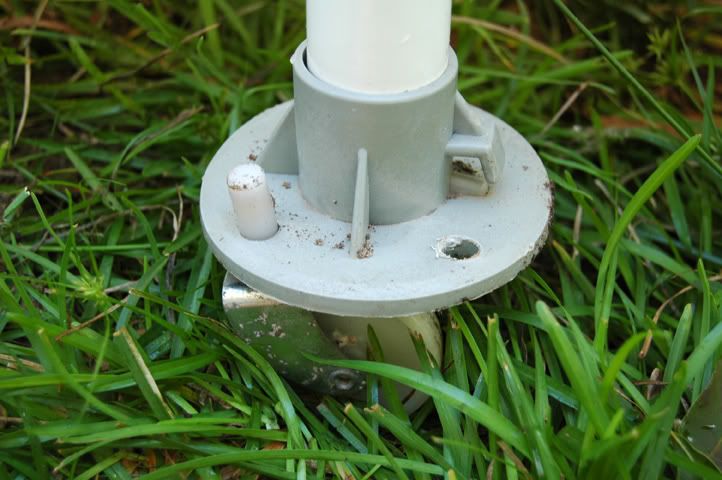
Then all that was left was for mom to grab one leg and me the other and off we go!
If you look hard you can see the skates on the rear legs.
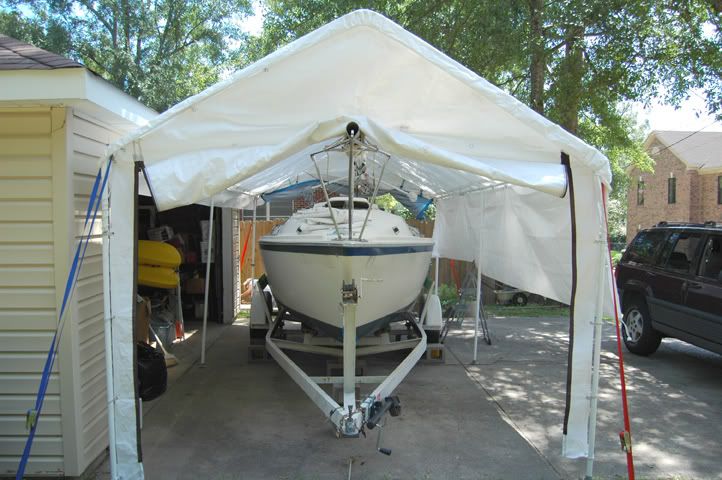
It took less than ten minutes to move it. A proud moment of Rube Goldberg engineering if there ever was one. Small chicks who work on boats have to be resourceful.
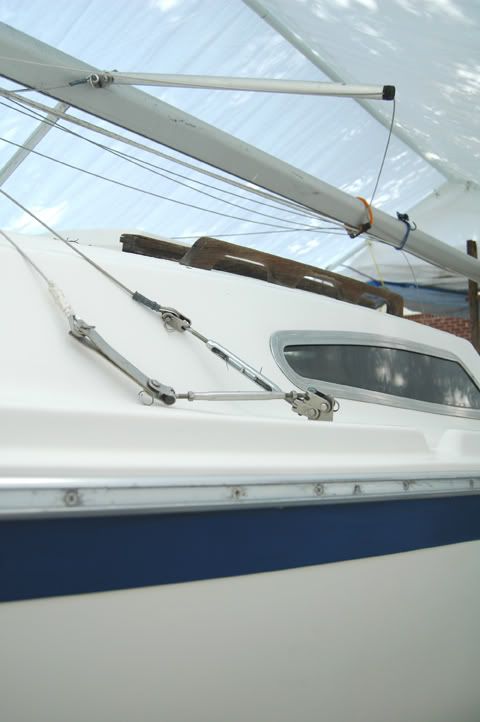
Here she is all safe and sound and soon to be level.
Since it was a hot day and we had the boat sitting on concrete we thought it would be fun to wet sand a few spots to see how much difference it would make.
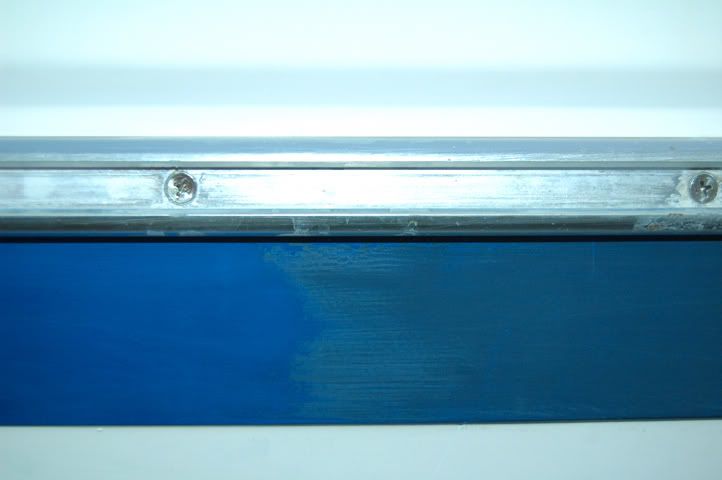
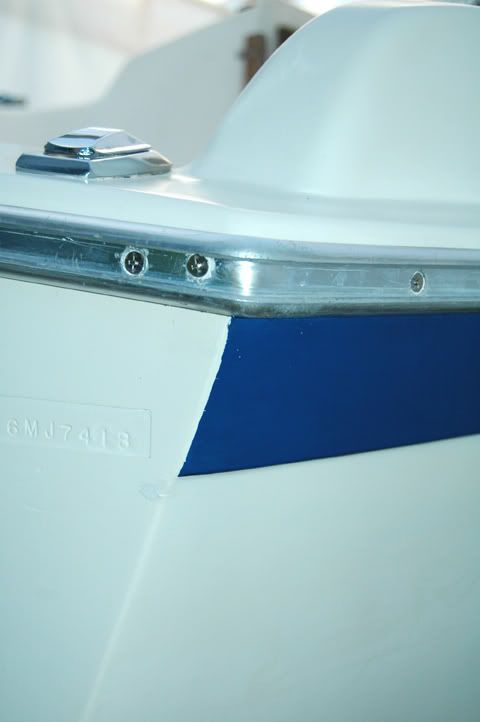
Along the gunwhale, the previous owner had painted over the pretty blue with a dull blue. I'm guessing it was the wrong kind of paint as it was much more dull than the rest of the hull.
After wet sanding with 400 grit wet/dry - It's like finding a pretty hardwood floor under a nasty old carpet! :D
Seeing the pretty blue come out just made me want to wet sand all day. So we did! :D
Here's a few shots of the deck after the first wet sanding with 400 grit.
And here I applied a little polish just to see if it would shine. And it did. :D
Nice to know we won't have to paint the hull right away. We just have to finish wet sanding the whole thing with 400 then up to 800, then 1000 and then do some serious waxing and she should look decades younger. That's all hard work of course, but not near as hard or as costly as a new paint job.
Next up - this weekend we hope to begin glassing in the keelson. This is a big one. Wish us luck!