Friday, October 12, 2007

Resealing the hull-to-deck joint.


Got my epoxy and 3M 5200 in. Before I was ready to start repairs we had to remove the last bits of silicone from the joint and clean with acetone. There were two spots on the joint where the PO (previous owner) actually used the proper product. Two beads of 3M 5200 were in the joint mid-point on both sides. There is a reason you use 5200 - it works and lasts a long time. This makes it hard to remove though. Thanks to the Laguna newsgroup, I knew just what to use....a hairdryer. Heat it up for a minute and that stuff comes right out. Cool.
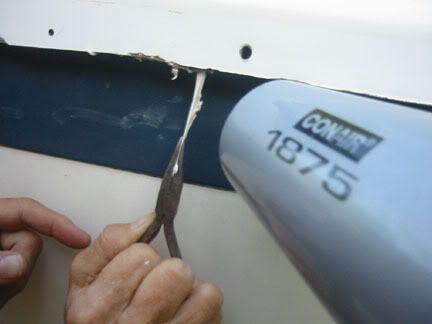
Photo Sharing and Video Hosting at Photobucket


Next, we sanded and grinded the bad spots on the deck joint where the paint has been chipped exposing fiberglass. The Dremel made quick work of this. The Dremel rocks!
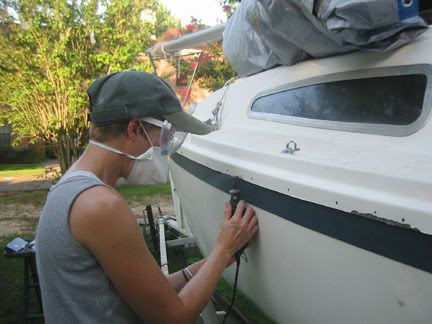
Photo Sharing and Video Hosting at Photobucket


All that protective gear doesn't make things cooler.

After that was all done we were ready to get to actual repairs and seal the hull-to-deck joint. Unfortunately, the ideal temperature for my materials is approx. 70 degrees. Yeah, it's like NEVER 70 degrees here. Today it's 106. So, it's much too hot to epoxy, and my boat's deck is not attached to the hull right now, just gravity and some nails keeping things together. The nails are working great though (thanks Ronnie).

While we wait for it to cool a bit we got a lot of cleaning done. Finally, you can't smell the boat before you get to it. Actually, you can barely smell that old neglected boat smell at all. :)

Mom does some cleaning work.
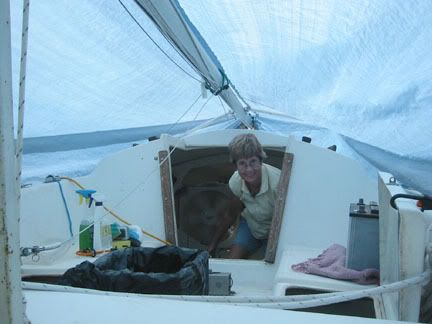

Photo Sharing and Video Hosting at Photobucket

What a difference it makes! It's like a completely different boat.

It was a productive Saturday, but we weren't EVEN done yet. My man Dan, the master of all things electrical, came by to check out Wahoo's electrical system. He brought a spare battery by and hooked everything up. Nothing. Check the polarity......and...

Little Wahoo has power!
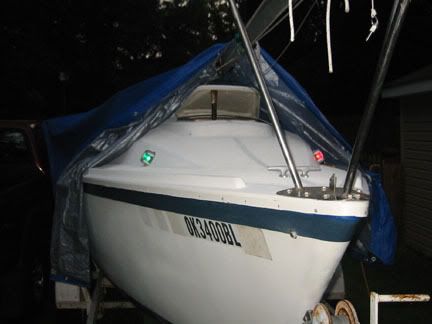


Isn't she a pretty sight with her nav lights on? :) She looks like she's smiling.
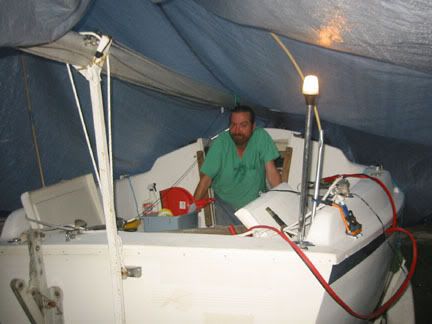


Thanks Dan! And look, the rear nav light works too!

All the electrical stuff works (bilge pump, anchor light, nav lights, fans) except for the cassette deck, which only needs a fuse. This is so great. I was certain all the electrical stuff was shot - you have to lower all your expectations when working on something this old, as you constantly find more stuff that needs fixing. So it was a very nice surprise to find something worked without us having to work.


Sunday was a lot more cleaning - and we removed the old foam flotation. Goodbye forever nasty old styrofoam.

Despite the heat, it was a productive weekend. :)

Instructions!


This should speed things up a bit.

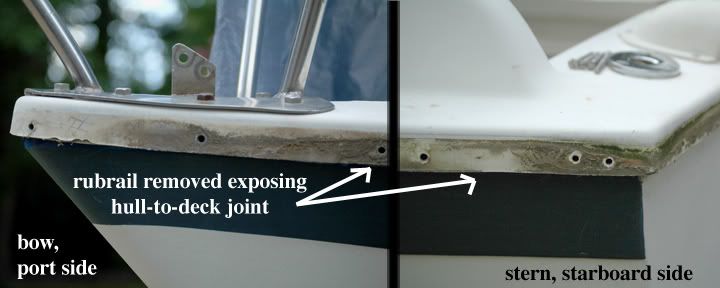
Rubrail Removed!


Mom and I spent 7 hours removing the rubrail. First we removed the rubber guard that inserts into the rail. This was the easiest part - simply pry one end and then pull it out from the grooves all the way around the boat. If only it would go back in with the same ease. I have a feeling it will be extremely difficult working it back in. After the rubber piece was removed the screws that attach the rubrail and also secure the hull to the deck were exposed. From there mom was on the outside with a screwdriver while I performed like a contortionist and made it in to the nooks and crannies in the bow and stern with a wrench while mom removed the screws. The sides were easy, but the bow and stern were really uncomfortable - it was hot and downright claustrophobic at times, but we got them all out in one day. After that the rail just kind of peeled off. There are four separate pieces. This exposed all the old silicone that was inserted from underneath the rub rail.


Next up is purchasing large quatities of 3M 5200 adhesive/sealant and removing all that old silicone.

Jibe ho!

Silicone is not your friend


Okay, so after we put in 6 man hours trying to pull old silicone from the hull-to-deck joint and only getting probably 15% of it out, I decided to research this whole hull-to-deck repair procedure. Am I ever glad I did that. For one, silicone is for the windows, not the hull-to-deck joint. Second, the stuff we are supposed to use (3M 5200) won't bond to the old silicone, which means it will all have to be removed. So this just went from "pull as much out as possible and insert more of the same" to "removing the entire aluminum rail, removing old silicone and cleaning thoroughly, replacing any corroded screws, sealing the joint with 5200 and epoxy if necessary (inside and out), reattaching the rub rail, and then completely sealing with more 5200." Whew! It's a bigger job than I was thinking, but it will be nice to know it's done right this time, as simply applying more silicone will not solve the issue.

Can you say restoration! :)

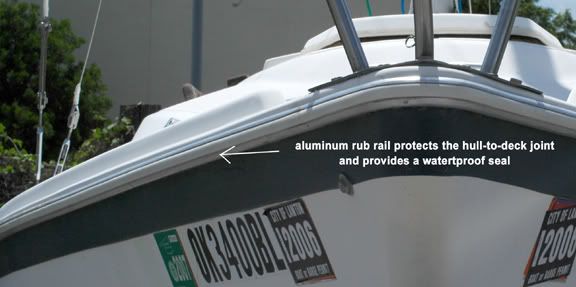
Here's what the hull-to-deck joint with rubrail intact looks like.

Motor Mount Removed


Wahoo was purchased in July of 2007 but I didn't start this blog until October. We have already completed some of the projects on our To-Do list. I'll try to get all the projects we've already completed posted first, before I start blogging in real time.

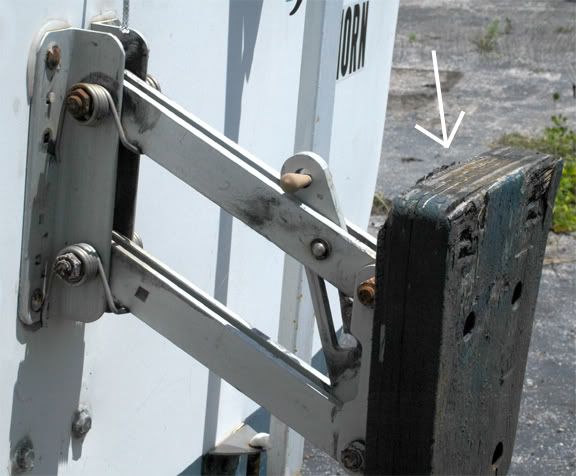
First thing we did was remove the motor mount. It is in need of repair and my Paw Paw offered to build me a new one or repair the existing one if possible. All I had to do was remove the old one from the boat and bring it to him. Sounded simple enough. Just get a ratchet set and pull that baby right off, right? Heh! It was a battle. Those bolts have been on there a looooooong time. There were moments of doubt....moments of great struggle, but in the end, I won! The motor mount came OFF!

PawPaw is currently repairing the old motor mount. It will be nice to have him add something to the boat. He also gave us a compass (I hope to use often) and a really nice fire extinguisher (I hope to never use).

Here's what the old motor mount looked like before we battled it out in the driveway.