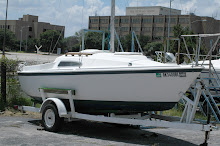
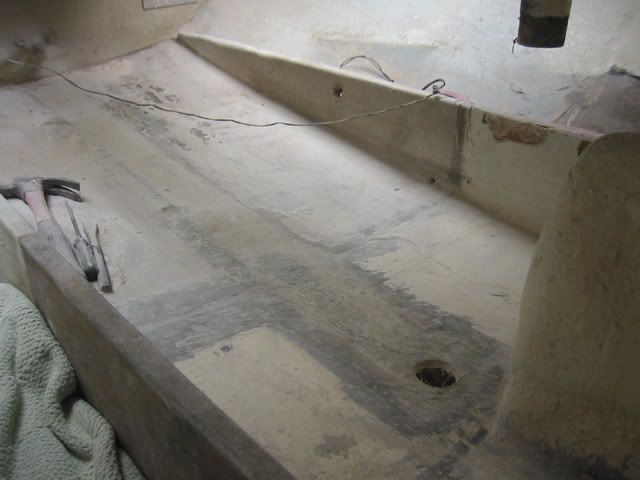
Here is a pic of the boat as it is now, with the old keelson removed and ready for the new one. The keelson will run from the back end of the boat at the transom forward all the way past the hole where the cockpit drain thru-hull goes.
So, the first step, find some wood. Seems simple enough. There's a lumber store here in town. On their website (was surprised they even had one) it says they carry Douglas Fir, which is exactly what we need to construct the keelson from. So I get there and wait for too long only to be told "no, no.....nothing like that around here." The guy was a bit of a jerk, looking at me as if I don't know what I'm asking for. Anyway, so his advice I guess is to give up, as there is no douglas fir in these parts. WHATever!
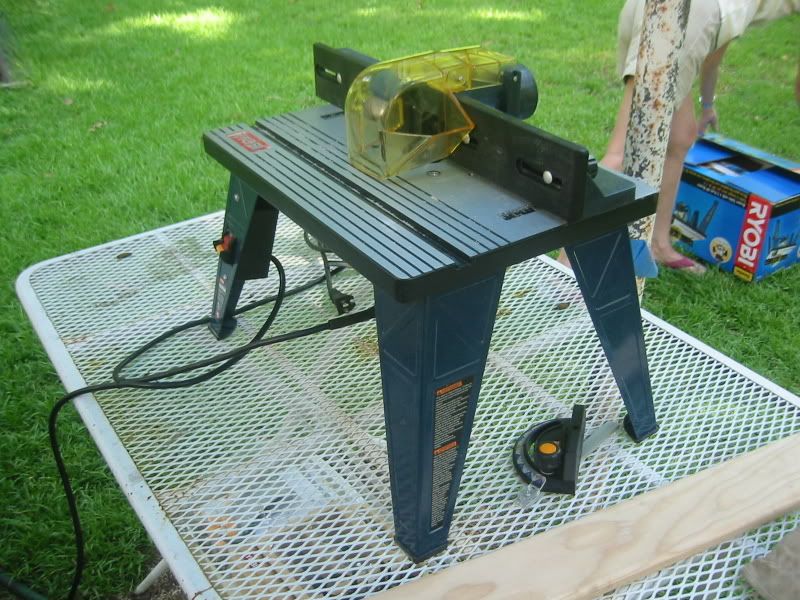
I know Home Depot doesn't have it so I go to the Lowe's website and it shows Douglas Fir in 1x4 boards. So off to Bossier to the nearest Lowe's. They didn't have a lot, but they had the pieces we needed to get going with the keelson and also the bridge step support and cross support (support underneath the main bulkhead) so I was pretty happy about that. Also, while researching all the repairs I'm having to do on the boat it became obvious that at some point I would need a router. Gonna have to get those round edges on all this wood somehow. Lowe's carries Black & Decker tools and the last few things I got from B&D have been pure crap so I'm wary of their stuff. So, even though Home Depot pisses me off frequently, they carry the Ryobi brand tools that I like so much, so we picked up a nice Ryobi router with table and also a nice set of 8 starter bits....all from the Depot.
Anyway, everyone got a cut of my money this weekend, except the one I really wanted to give it to the most, the local small-town lumber supplier. Oh well, he was a jerk, so I kicked him to the curb. No boat money for you!
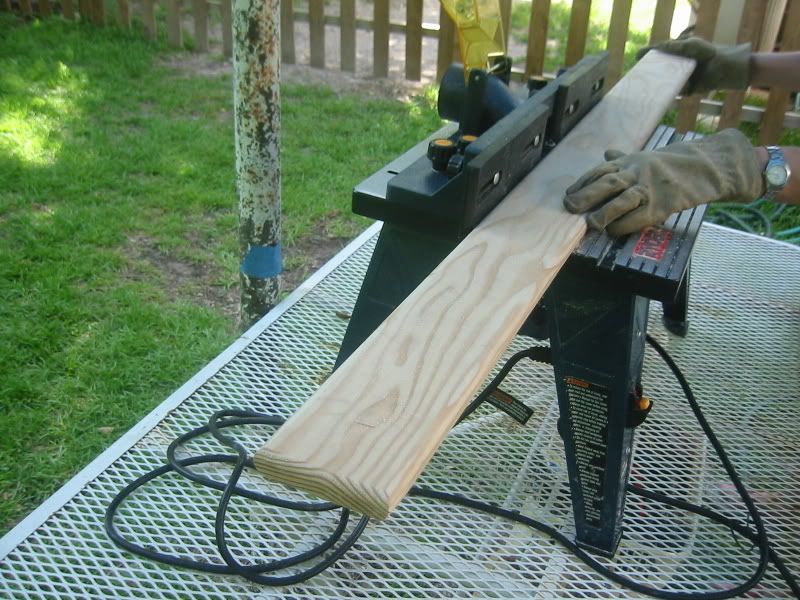
Cutting the board to size was easy. What wasn't as easy was figuring out the exact way to use the router. I mean, I know what it does and how it works, but couldn't figure out how to set up the table guide to feed the wood to the router smoothly. After a few curse words and a slight loss of temper, I figured it out and got right to business, rounding all the edges on the keelson. The keelson needs to be covered in a layer of fiberglass and epoxy and cured before installing - the glass and epoxy makes it stronger and protects it from moisture. You never want fiberglass to bend at 90 degree angles so all the edges must be rounded before glassing. The router did a clean, thorough and fast job.
Next was figuring out where the hole in the keelson that the cockpit drain will go through is to be located. Not sure the precise way to do this but the way we did it was for one of us to get in the boat with the keelson and line it up and the other to get under the boat and draw a line around the inside of the hole onto a piece of cardboard.
Next up, cutting a big hole in the keelson. It took several tools - a drill to get the first hole in and then a few more to make it big enough for the jig saw blade to fit. Then jigsaw almost to the edges of the hole. Then back to the new kickass router table to finish out the hole.
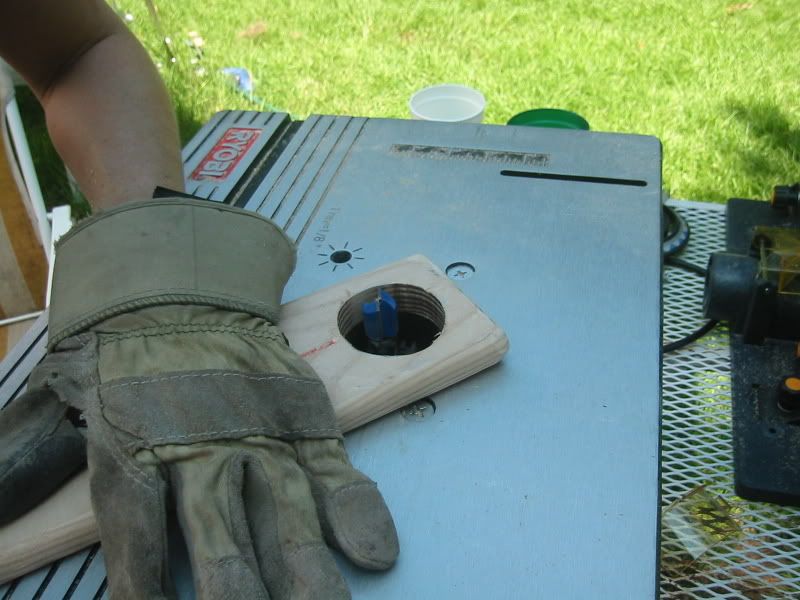
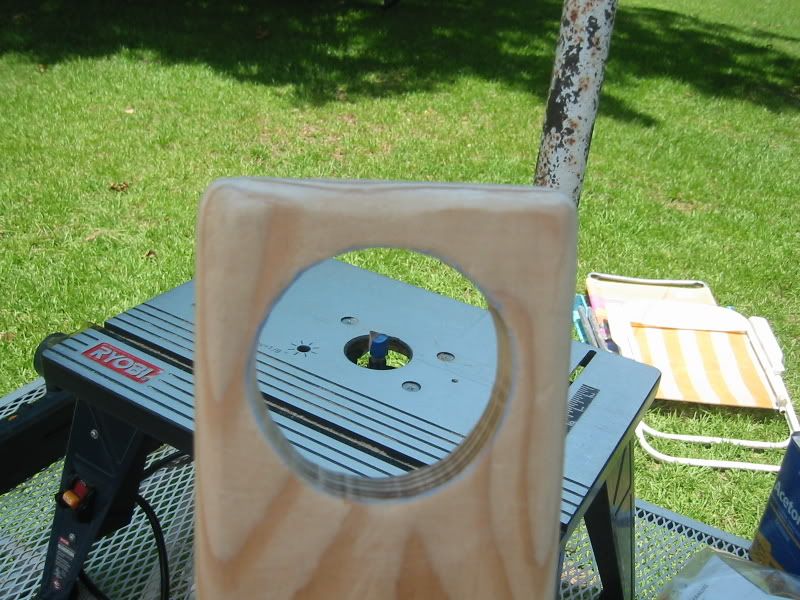
A quick sanding with the dremel and we're done. So, let's put up all the tools, the router and table, everything...put it all up, anything that we won't need again today. I'm one of those people who likes to clean up from one thing before I start another. After everything is put up, Mom reminds me we better check and make sure the hole in the keelson is bigger than the hole in the boat as the hole in the keelson will still need to be coated in glass and epoxy, so we'll be adding thickness to it. So in the boat Mom goes and underneath I go, and it's almost the right size, but not quite. DOH! Back out with the router and table one more time.
Here it is....the nice hole, and the router that made it. :D
Next step was sanding the keelson all over (to make sure the epoxy will adhere to it) and cleaning with acetone. Then, on to some glass work.
First we cut the fiberglass cloth to the desired size. Then, wearing all the appropriate safety gear, mix your epoxy and start wetting it out.
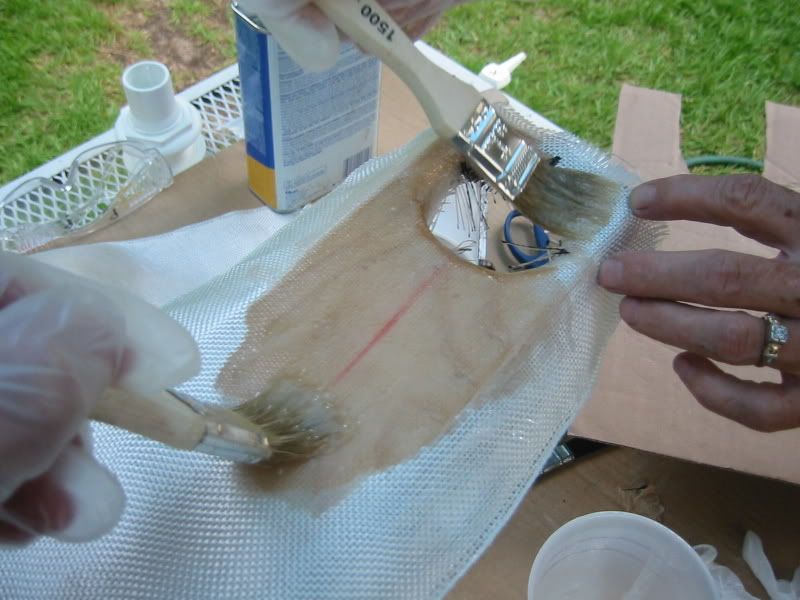
You want to make sure you get it all wet, but not so wet that the glass tape wants to float. You want to squeeze out the excess, then as it starts to get tacky add more layers of epoxy to fill in the weave.
Here's what it looked like after the first coat.
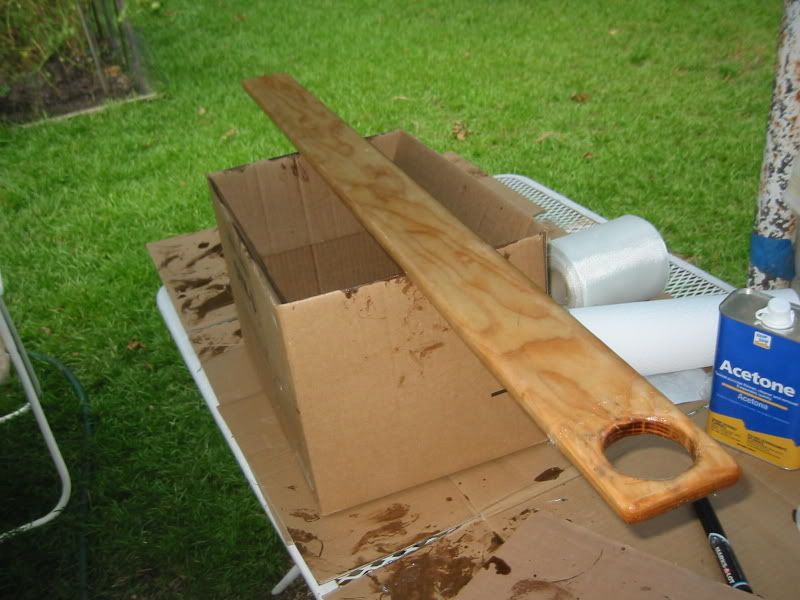
And after being left in my garage overnight it was done (completely hard and not sticky) by lunch today, so that's about an 18-hour cure time.
Know what I think about the new tools, the new skills and the new keelson for the boat?
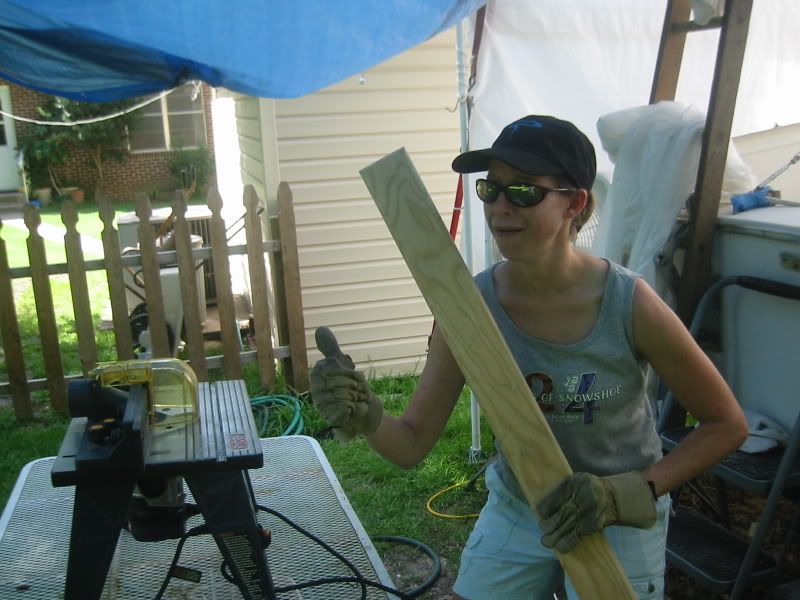
Thumbs up! :D


